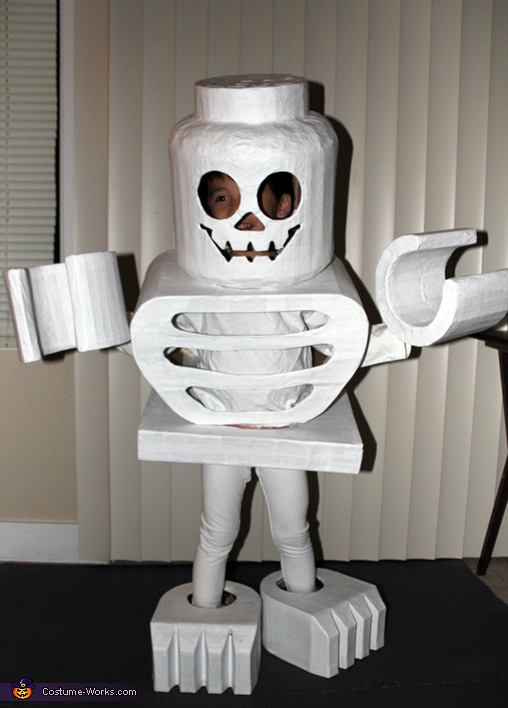
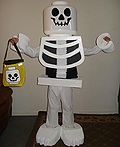
LEGO Skeleton Mini-Figure Costume
Rate this costume:
|
81 votes
| 1 comment · add a comment |

LEGO Skeleton Mini-Figure!
| Costume type: | Costumes for Boys |
| Categories: |
This homemade costume for boys entered our 2013 Halloween Costume Contest.
A word from Michael, the 'LEGO Skeleton Mini-Figure' costume creator:
Idea!...
The idea came when we noticed we have so many boxes and scratch paper in the house. So we thought of something we could use them for and remembered that holloween is next month. Our kid loves LEGO so we told him, do you want a LEGO costume for holloween? We searched for the different LEGO mini-figures online and we originally thought of making the basic LEGO mini-figure with the red body and blue legs. But looking further my son saw the LEGO skeleton mini-figure which he said he wanted that more than the basic LEGO mini-figure. And we also thought it's holloween so a skeleton will be more spooky, with that we get our LEGO and we get our spooky in one. So that is how the 6-weeks-weekend-project began.
The process...
We used a bunch of corrugated boxes; scratch paper; flour, cornstarch, water for the paste; pencil; ruler; cutter; scissors; foam; plates and saucers to outline the round parts; and a lot of imagination!
Weekend 1 was the head
Pencil, Ruler, Cutter, Tape, Old Boxes, Plates and Saucers (different sizes)!
We tried to make it as proportional as we can. Measuring, cutting, taping them all together is how we did this part. We used the ruler and the plates and saucers for the round parts. End of the first weekend we had our base for the head.
Weekend 2 was the body (ribs and hip)
Same process as the head; measure, cut, tape them all together. We used mostly ruler and freehand to come up with this.
Weekend 3 were the hands
Same process as the head and body; measure, cut, tape them all together. We used mostly ruler and the plates and saucers to come up with this.
Weekend 4 were the feet
Same process as the rest; measure, cut, tape them all together. We used mostly ruler to come up with this. An addition to this we filled the feet with foam so it fits snuggly when he slips his feet in there.
Weekend 5 was covering the frames with paper and paste (Paper Mache) to make them all sturdy
We have all the frames and they seem a bit flimsy so we decided to do some Paper Mache. Cooked our own paste with flour cornstarch and water, cut up some scratch paper and wrapped them all up. When it dried up it felt sturdier. This weekend we finished the head.
Weekend 6 more Paper Mache and added the logo on the head
This weekend was for the other parts which were easier since they didnít have the small holes and angles as the head had. Same process cooked our paste and wrapped them all up. We also noticed that it needed a little more detail so we cut up a
We also got him a white long sleeve shirt and pants to go with everything and we have our holloween costume.
If we are considering the shirt and pants, this is more than 90% DIY!
Total cost excluding the shirt and pants, $5 for the tape. All the rest came from our storage and kitchen.
The costume is just the end product the best part is the time spent with our son through this "weekend project" and seeing him happy and smiling each time.
Similar costumes:
Rating: 4.2 of 5. Votes: 81
|
81 votes
|


