by Sara


Ghost, ghoul, goblin, skeleton, zombie or other...all types of creepy critters and those who relish in the frightful fun of Halloween are welcome here! Our galleries contain thousands of terror-rific costumes and ideas. Pretty or petrifying, cute or creepy, funny or frightening....all costumes have a howling-good home right here! Feel free to browse crackling collections of costumes, haunting how-to articles, or learn more about out wickedly popular Annual Halloween Costume Contest!
This page is maintained by a group of Halloween enthusiasts who enjoy eerie events and the holiday's spirit as much as you do! Founded by Coletta Daniel in 2006, this spooky site continues to provide creative costume ideas to thousands of Halloween lovers each day.
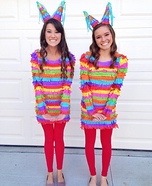
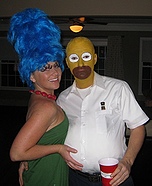
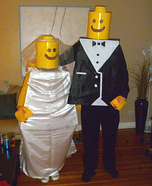
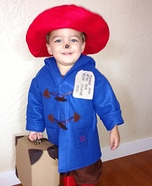
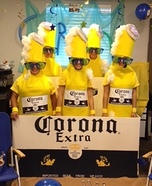
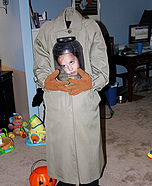
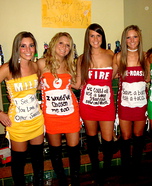
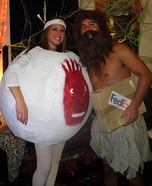
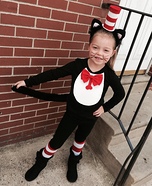
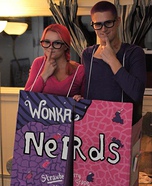
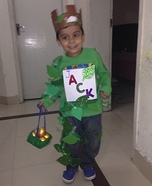
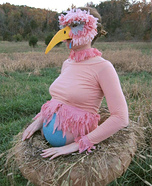
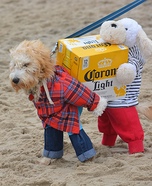
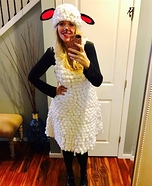
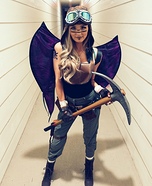
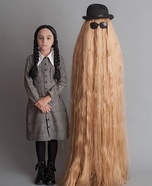
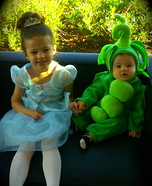
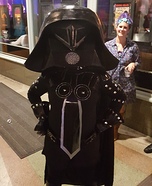
The howling highlight of our website is the Annual Halloween Costume Contest. Our galleries are filled with contest submissions, and the homemade costumes featured here include instructive how-tos to make your Halloween dreams (or terrors!) come to life. Almost anyone can enter the contest thanks to the monstrous amount of categories available. Even boo-tiful baby ghouls and petrifying pets can enter! Submission is simple and requires only some photos and a short description.
![]()
CLICK HERE TO ENTER
2023 COSTUME CONTEST!
A wicked congratulations to our past Halloween costume contest winners! We have enjoyed your submissions greatly, and we feel honored to offer them to our visitors. Anyone who can't see your tremendous talents and creativity must simply have bats in their belfry! We are in awe each year of the mind-blowing quality of the submissions we receive. Thank you for taking the time to share with us!
Our site's popularity has soared, and we'd also like to thank our mischievously magnificent guests and past costume contest entrants. Without your wonderful entries, our site wouldn't be the vilely-vast cornucopia of ideas you see before you. Please know that every Halloween lover is a winner here! Submissions are featured for thousands to draw inspiration from whether your bag is full of treats at the end of the contest or not! Our visitors and contest participants truly make this site what it is, and we couldn't do it without you. Thank you again for sharing your malicious masterpieces with us, and we wish you a bewitching Halloween season!
Check out our Past Halloween Costume Contests below:
2022 Halloween Costume Contest
2020 Halloween Costume Contest
2019 Halloween Costume Contest
2018 Halloween Costume Contest
2017 Halloween Costume Contest
2016 Halloween Costume Contest
2015 Halloween Costume Contest
2014 Halloween Costume Contest
2013 Halloween Costume Contest
2012 Halloween Costume Contest
2011 Halloween Costume Contest
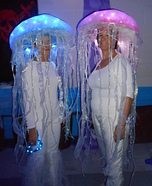
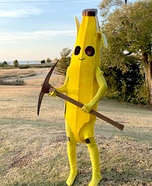
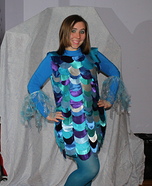
Without further a-boo, we'd like to take you into our crypt of costume galleries. This catacomb of ideas was built by terror-rificly talented users like YOU who are kind enough to share their creations and ideas with the world. Enter the gallery if you dare, and beware – the galleries have been known to claim an hour or three for themselves!
Within these ghastly galleries, you can expect to find all the treats you can digest, including....
View more costume pictures, by category >>
If that's not enough to whet your appetite for brains costume ideas, we also host a sweet selection of articles to help your inspiration along. You can find additional lists of ideas, helpful how-to articles, and even more resources for making your Halloween a truly spellbinding night! If you have an article you'd like to see here relating to costumes/homemade how-tos/Halloween in general/History related to the holiday, please send it to us and we'll be ghoulishly-grateful! After all, our site would be nothing without our users and we welcome all submissions!